


Redoing furniture by adding legs is one way to give new life to your existing home decor. You may find the perfect furniture at a flea market, tag sale, or as a hand me down but find that it needs a little something. Quickly sanding down the furniture, applying a fresh coat of paint, and changing out the hardware are other ways that you can upcycle second hand furniture. Today, Sara from Thrifty Treasures is sharing her technique for redoing furniture by adding legs.
Redoing Furniture By Adding Legs
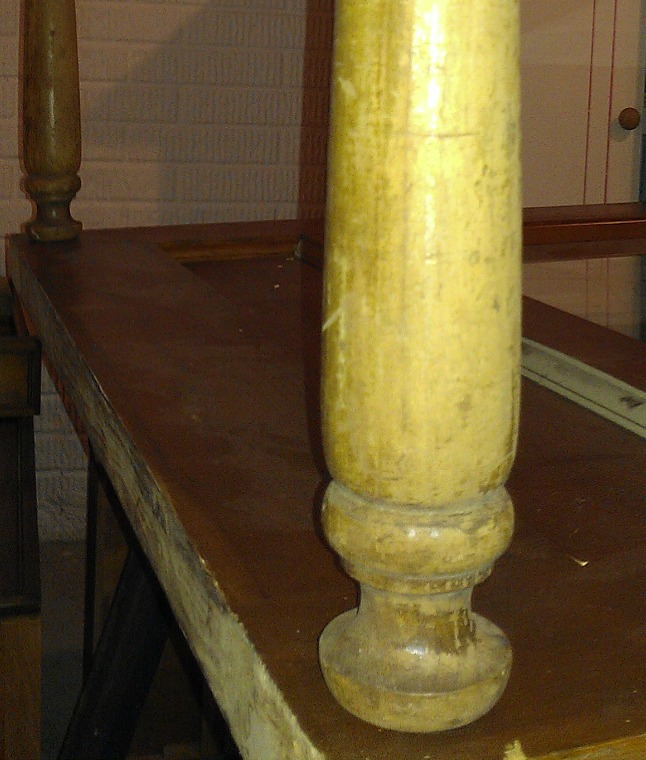
- Choose the right style legs for your piece of furniture. Make sure they are sturdy enough to support your piece. Don’t expect long, scrawny legs to support a heavy Edwardian china cabinet! Choose shorter legs for larger pieces of furniture. This will make the final result more stable. Longer legs work well for lighter items such as a table. If you don’t have legs and cannot find ones you like, you can make your own legs by cutting a wooden spindle.
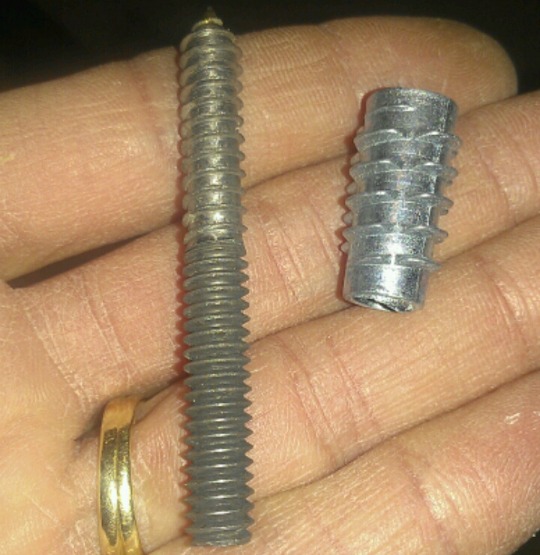
- To attach the legs to your furniture, you will need insert nuts from your hardware store. If your legs do not have a bolt in them already, you will also need to pick up hanger bolts. Be sure the sizes you choose work together. The hanger bolt needs to fit inside the insert nut. As always, ask for help from the hardware store clerk if you’re not sure.
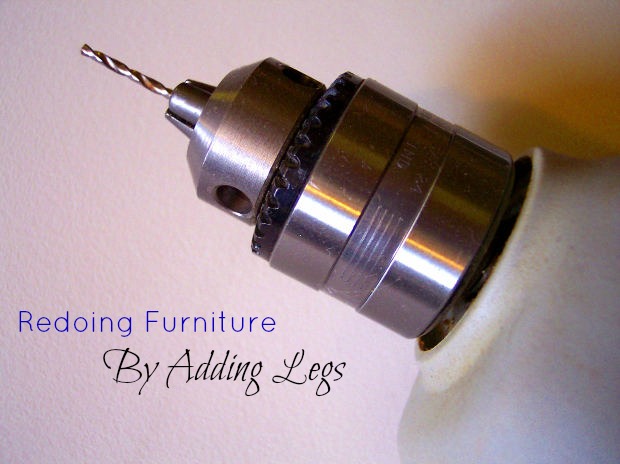
- Drill holes in the bottom of the furniture where you want the legs attached. Your insert nut package should tell you what size drill bit to use.
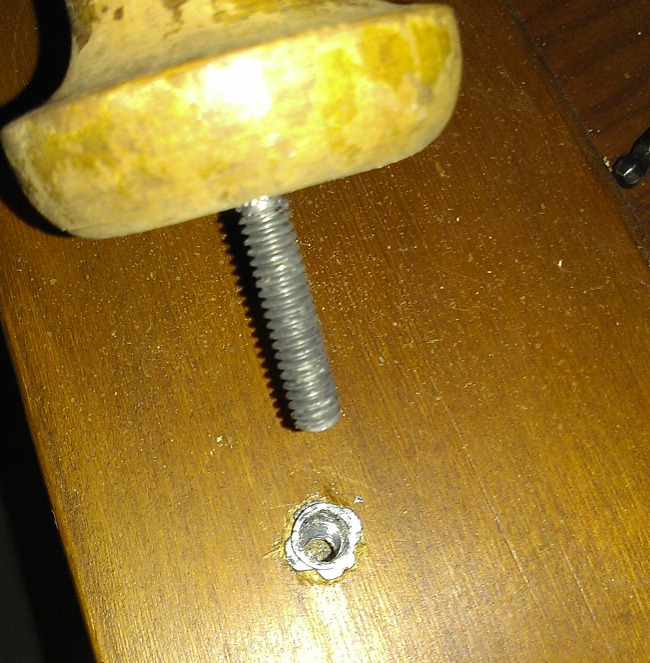
- Screw the insert nuts into the furniture. At this time, if you need bolts in your legs, attach those.
- Twist the legs into the furniture and you are done!
As a note, there are also screw on brackets that attach to the bottom of furniture that the legs can twist into, but I prefer this method. It is cheaper and seems to be more stable. Have you ever attached furniture legs before? If so, what is your favorite method?
‘); // ]]>
=====get the InLinkz code


Add Your Comment